Quick Start
Send your first notification in under two minutes.
Step 1: Open Any Record
Open any page in Business Central where you can add notes. For example, open a Customer Card.
Step 2: Add a Note
-
Find the Notes section in the FactBox area (right side of the page)
-
Click + to add a new note
-
Type your note text. You can include
@usernameto automatically add recipients
- Click Save or close the note editor
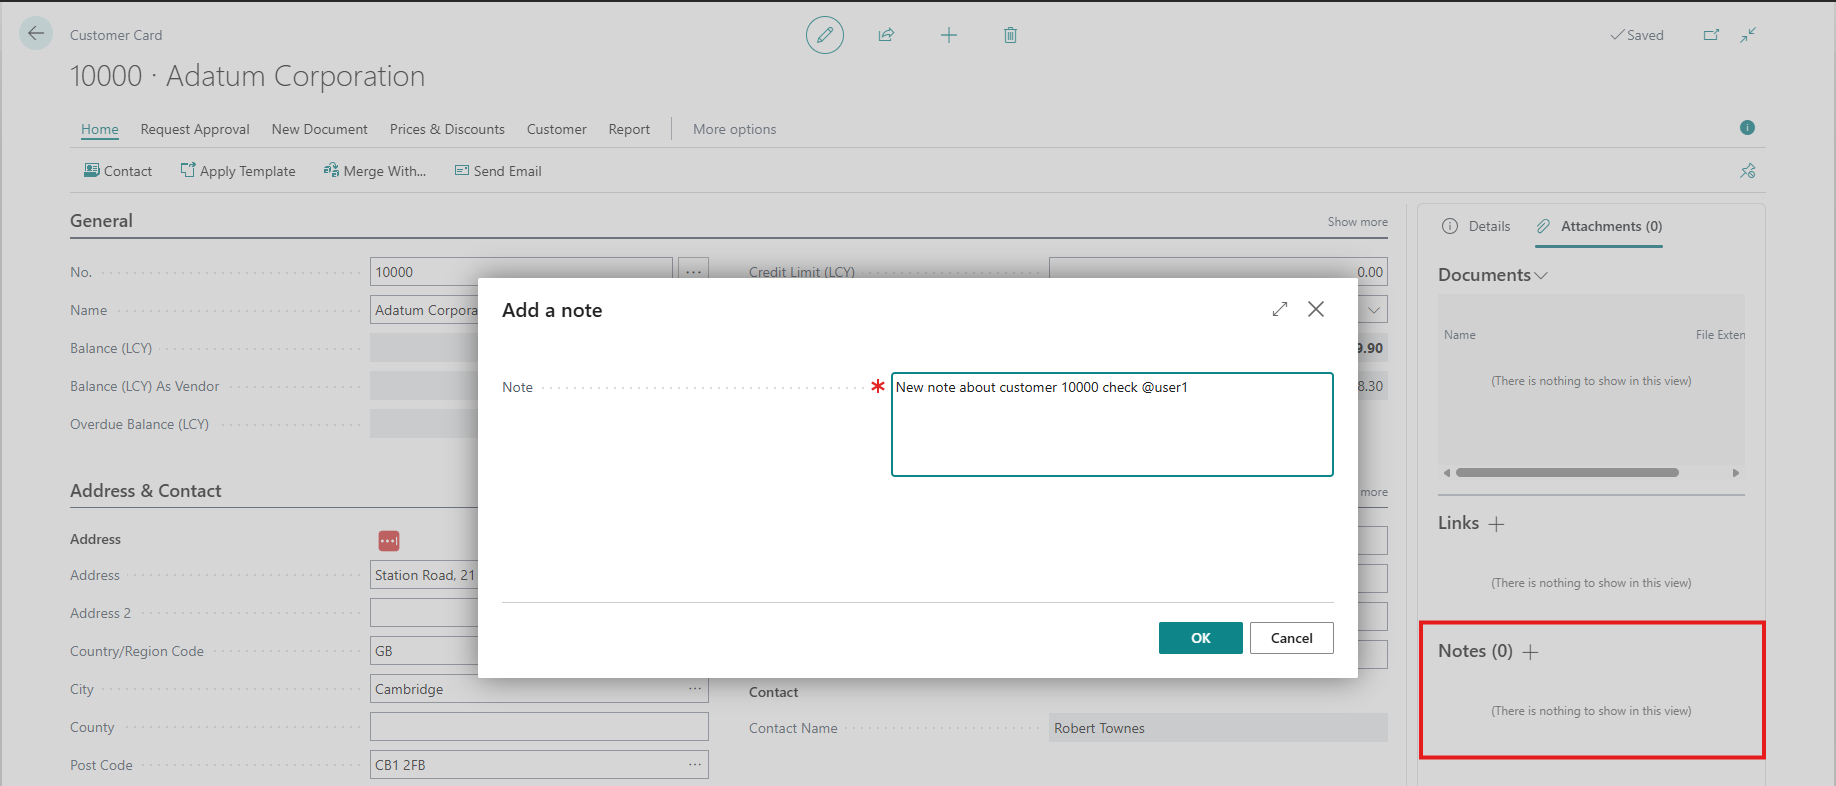
[Screenshot: Note editor with sample text including an @mention]
Step 3: Create the Notification
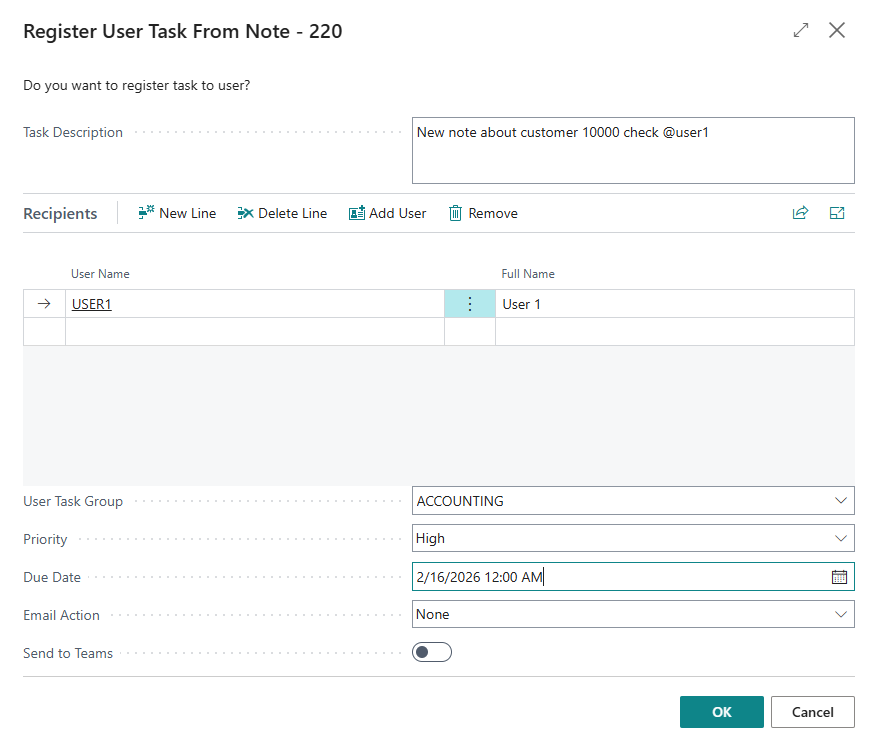
After saving the note, the Register User Task From Note dialog appears automatically.
-
Review the Task Description (pre-filled from your note)
-
Check the Recipients list. If you used @mentions, those users are already added. Use Add User to add more
-
Optionally select a User Task Group for a team-wide notification
-
Set Priority (defaults to Normal) and Due Date if needed
-
Choose Email Action if you have a Plus subscription (None, Send, or Preview and Send)
-
Toggle Send to Teams if Teams webhooks are configured (Plus subscription)
-
Click OK
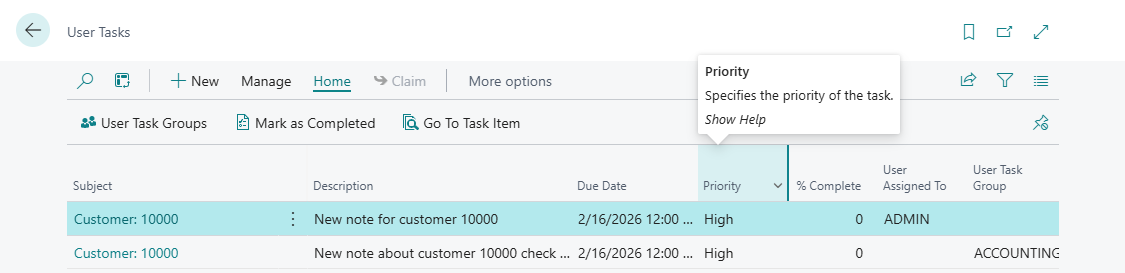
A separate User Task is created for each recipient. If you also selected a group, an additional group task is created.
Step 4: Verify
The recipient will see the new task in their My User Tasks list on their Role Center.
You can monitor your sent notifications from the My Sent Notifications cue on the User Tasks Activities area of your Role Center.
Next Steps
-
Learn about all the options in the Creating a Notification page
-
Set up Teams webhooks in the Teams Setup page
-
Explore the Managing Tasks section to understand claiming, source notes, and tracking